


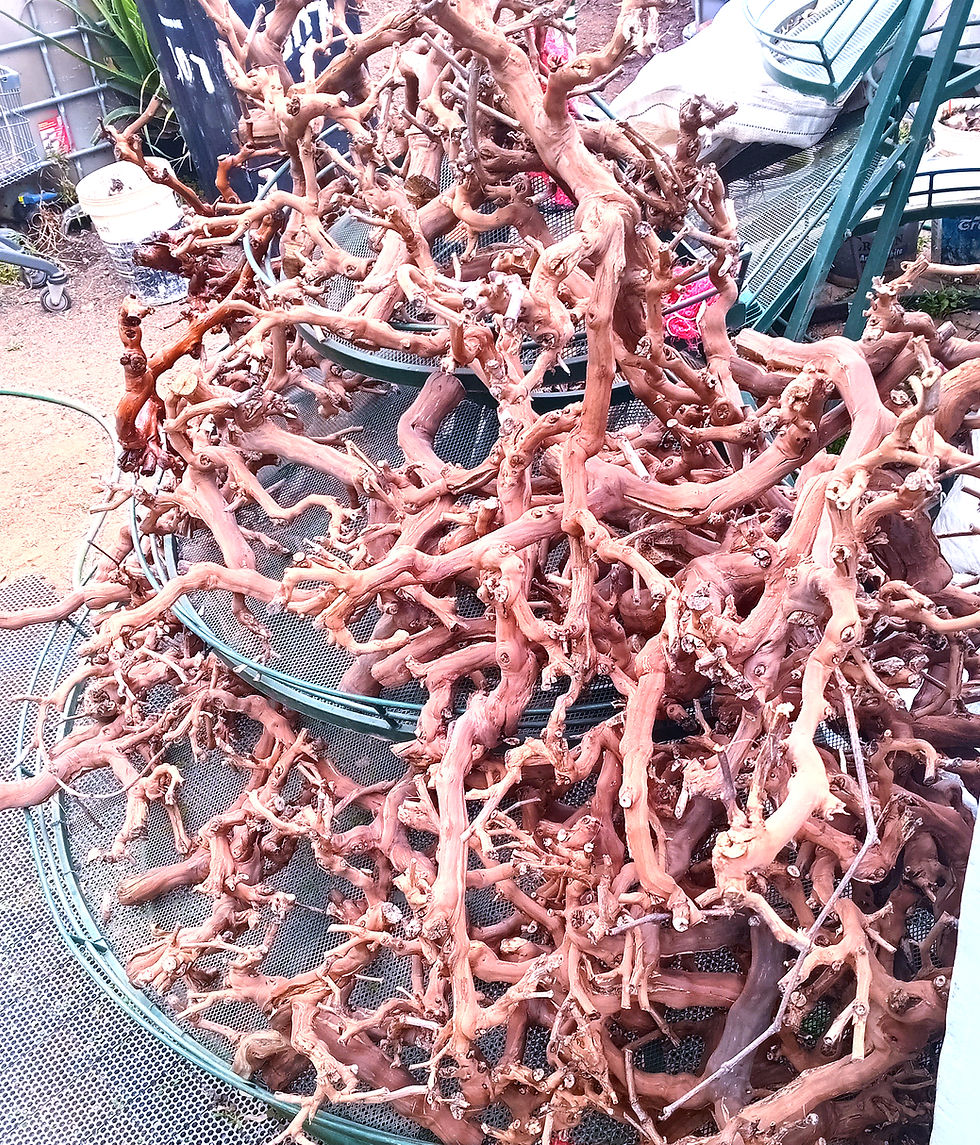


We always remove all the foliage and soil to prevent spoiling while in transit.
How to Plant a Pond Lily: A Step-by-Step Guide to Creating Aquatic Beauty
Pond lilies, with their stunning blooms and graceful presence, add a touch of tranquillity and elegance to any water garden. These aquatic wonders are not only visually appealing but also contribute to the health of your pond ecosystem. Another hidden benefit of having lilies in your pond is algae control, achieved by removing excess nutrients and blocking excess light from reaching the pond's bottom. If you're eager to transform your pond into a haven of natural beauty, follow this step-by-step guide on how to plant a pond lily.
Step 1: Choose the Right Variety
Before you dive into the planting process, decide on the type of pond lily you want to introduce to your water feature. There are two main categories: hardy and tropical. Hardy lilies can survive colder climates and are perfect for temperate regions, while tropical lilies thrive in warmer environments. We stock all Hardy lilies, ensuring everyone in South Africa can confidently buy their pond lilies from Aquatic Plants SA. Additionally, you'll enjoy the task of selecting the ideal flower colours and exploring the dynamics of different leaf formations and colours. Enjoy the shopping!
😊
Step 2: Select the Ideal Location
Pond lilies thrive when they receive ample sunlight. Choose a spot in your pond that receives at least 6 hours of direct sunlight daily. This is crucial for their growth and blooming potential. Additionally, ensure the water depth is suitable for the type of lily you're planting – typically between 40 to 60 cm, but not deeper than 1 meter. If your ideal spot is too deep, consider using a stand such as a milk tray or large bricks. Just make sure they are clean and won't release excess cement into the water (pre-soaking helps a lot).
Step 3: Prepare the Lily Container
Pond lilies are typically planted in containers to prevent them from taking over the entire pond. Opt for a container specifically designed for aquatic plants, such as a 17cm plastic pot as a minimum. Fill it with a mix of aquatic soil and clay, preferably in a 30/70 ratio. This provides the necessary nutrients and stability for the lily. For enhanced growth and maximum flowering, we recommend adding 3 to 4 food tablets per lily in spring to all the pond lily pots.
Step 4: Plant the Lily Tubers
Start by cleaning the tuber of any dead or damaged roots, as these can lead to problems while the lily is adapting to your pond. Since transport shock or damage might cause leaves to die, we recommend removing all emersed leaves by cutting them off about 2 cm away from the tuber. Submerged leaves that show no damage can be left alone. Now, fill the pot to about 60% and press it down, then top it up to the correct level. The 60% recommendation can be adjusted based on the tuber's size. Press the food tablets about 3 to 5 cm deep into the compacted soil. Place the tuber on top of the soil, holding it at about a 25-degree angle, and gently add the remaining soil around the tuber, ensuring the growing tip faces upward. Cover the tuber with 3 to 5 cm of soil, leaving the top growing part of the tuber exposed for optimal growth stimulation. Press the soil slightly to snugly hold the tuber in place, allowing roots to make immediate contact with the soil as they start to grow. Finally, top the container with a layer of small gravel to prevent the soil from floating away and to anchor the lily in place.
Step 5: Place the Lily Container
Submerge the lily container in your pond at the appropriate depth. Lower it slowly to avoid clay washing out of the pot and clouding the water. Use bricks or stones to position the container securely.
Step 6: Maintain Water Level
As the lily grows, maintaining a consistent water level is essential. Adjust the container's depth to ensure the leaves reach the surface without becoming submerged. Submerged leaves can easily rot, wasting the tuber's efforts, so trim them off if they are going to be submerged.
Step 7: Prune and Deadhead
Regular maintenance is key to keeping your pond lilies flourishing. Trim any yellowing or decaying leaves and remove spent blooms to encourage new growth and flowering. Your attention will make a world of difference, and your lily will reward you with numerous flowers.
Step 8: Enjoy the Beauty & Share the Joy
With time and proper care, your pond lily will reward you with breathtaking blooms that grace your pond's surface. Take time to relax and relish the serene beauty you've created.
Don't hesitate to share your newfound pond lily expertise with friends and fellow water garden enthusiasts. The joy of cultivating these aquatic wonders is meant to be shared.
Planting a pond lily is a gratifying experience that adds both natural beauty and a sense of accomplishment to your water garden project. By following these steps and dedicating a little care and attention, you'll create a picturesque aquatic oasis that captivates the senses and enhances the overall ambiance of your outdoor space.
A Blog on how to split and repot old tubers will follow soon.